

That persistent drip from your kitchen or bathroom faucet isn’t just annoying—it’s costing you money. A single dripping faucet can waste over 3,000 gallons of water per year, adding unnecessary dollars to your utility bills. The good news? Most leaky faucets can be repaired with basic tools and a little know-how.
Understanding why your faucet drips and learning how to fix it can save you both money and frustration. Whether you’re dealing with a compression faucet from decades past or a modern cartridge-style fixture, the repair process is often more straightforward than you might expect.
This guide will walk you through identifying your faucet type, gathering the right tools, and completing the repair step-by-step. You’ll also learn when it’s time to call a professional plumber and how to prevent future leaks.
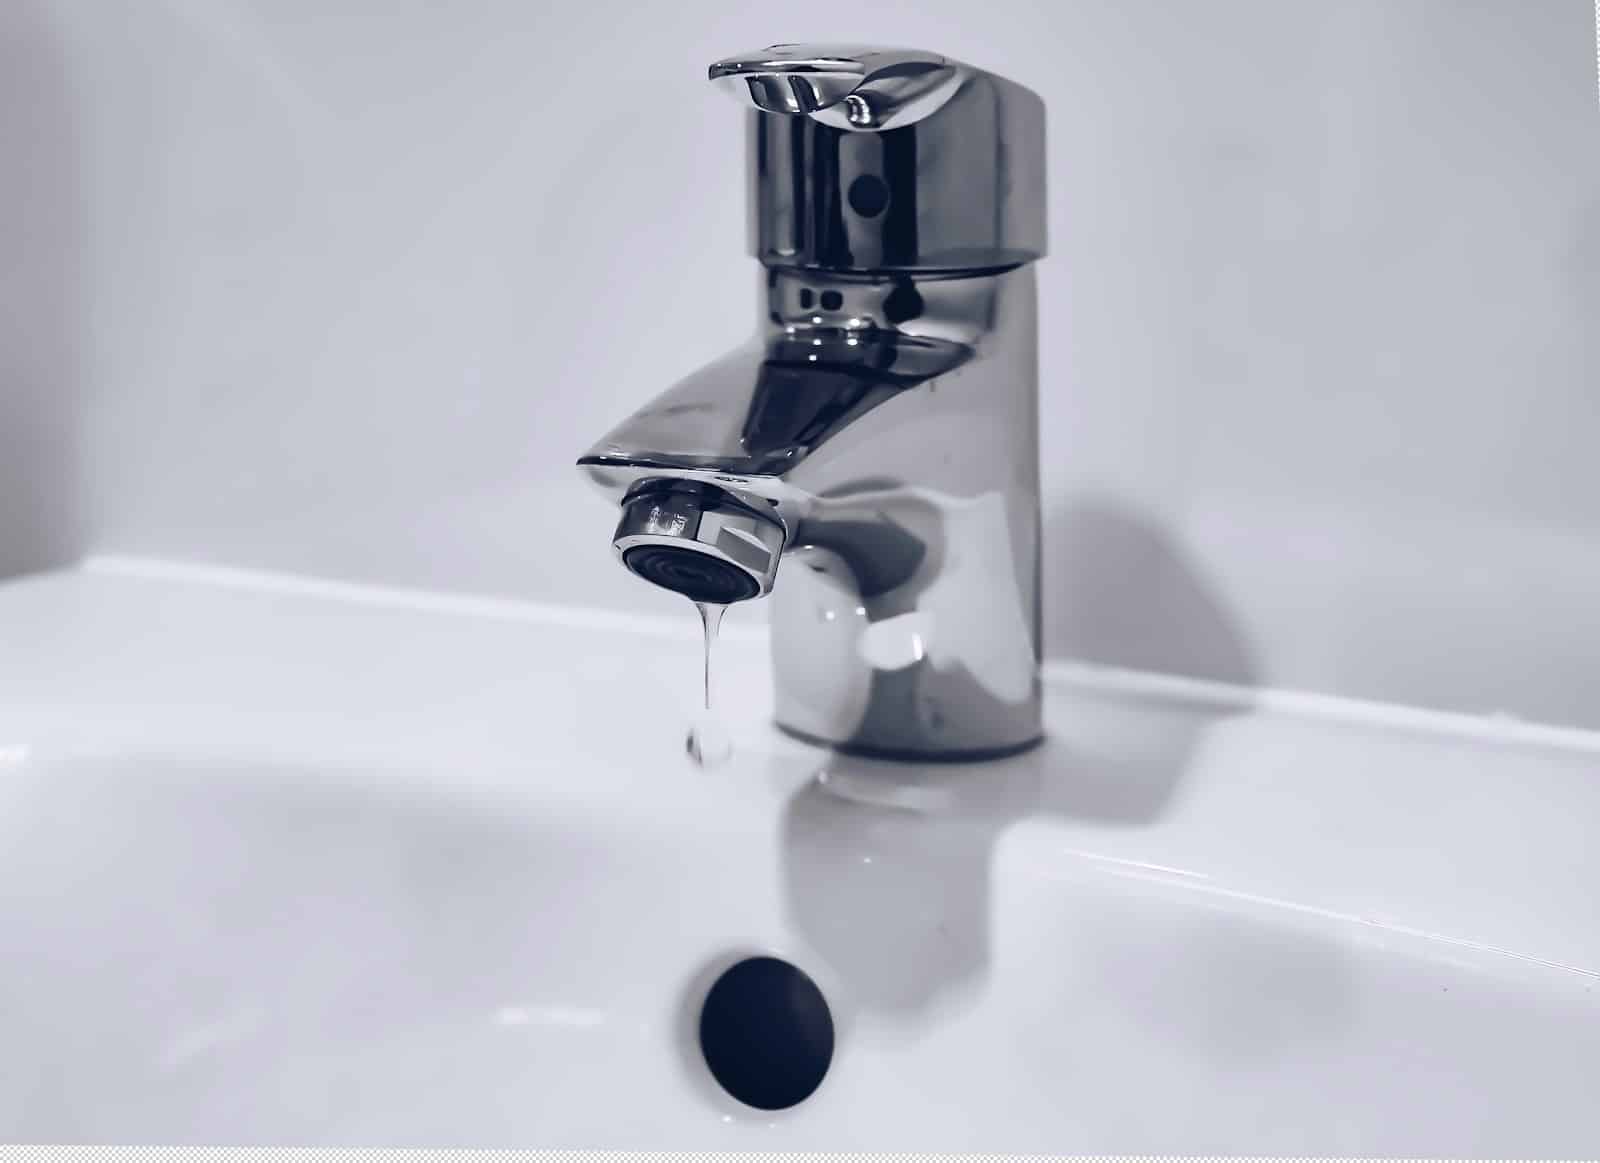
Photo by Sasikan Ulevik on Unsplash
Understanding Why Faucets Drip
Before diving into repairs, it’s helpful to understand what causes a leaking faucet. Most drips occur when internal components wear out over time, allowing water to flow even when the faucet handle is turned off.
Common Causes of Faucet Leaks
The valve seat serves as the connection point between the faucet and spout. When this component becomes corroded or damaged, water can seep through and create a persistent drip. Mineral deposits from hard water often accelerate this corrosion process.
Worn washers and O-rings are another frequent culprit. These rubber components create watertight seals within your faucet. As they age, they can become brittle, cracked, or misshapen, breaking the seal that prevents water flow.
Faulty cartridges in modern faucets can also cause leaks. The faucet cartridge controls water flow and temperature. When cartridge components wear out or become damaged, they may fail to completely shut off the water supply.
Identifying Your Faucet Type
Different faucet designs require different repair approaches. Identifying your faucet type before starting will help you gather the correct replacement parts and follow the appropriate repair steps.
Compression Faucets
Most leaky compression faucets are found in older homes. These faucets have separate hot and cold water handles that you turn to control water flow. When you turn the handle, it raises or lowers a stem that compresses a rubber washer against the valve seat.
Compression faucets are generally the easiest to repair, as they rely on simple mechanical components. The seat washer typically needs replacement when the faucet begins to drip.
Ball Faucets
Ball faucets feature a single handle that moves in multiple directions. Inside the faucet body sits a rotating ball with holes that align with inlet ports to control water flow and temperature. These faucets have multiple small parts that can wear out over time.
Cartridge Faucets
Cartridge faucets can have either one or two handles. The faucet cartridge moves up and down to control water flow. Single-handle cartridge faucets also rotate to control temperature mixing.
Ceramic Disk Faucets
These modern faucets use ceramic disks to control water flow. They’re highly durable but can occasionally develop leaks if debris gets between the disks or if the seals wear out.
Tools and Materials You’ll Need
Having the right tools makes faucet repair much easier and helps prevent damage to faucet components. Gather these items before starting your repair:
Essential Tools:
- Adjustable wrench or crescent wrench
- Screwdriver set (both flathead and Phillips head)
- Needle nose pliers
- Flashlight or work light
Common Replacement Parts:
- New seat washers (various sizes)
- O-rings
- Valve stems (for compression faucets)
- Replacement cartridges
- Packing material
Many hardware stores sell faucet repair kits that include multiple washer sizes and O-rings. These kits are convenient and often cost less than buying individual parts.
Preparing for the Leaky Faucet Repair
Safety should be your first priority when working on any plumbing project. Start by shutting off the water supply to prevent flooding and make the repair area more manageable.
Shutting Off Water Supply
Look for shutoff valves under the sink. Turn these clockwise to stop water flow to the faucet. If you can’t locate individual shutoff valves, you may need to turn off water at the main supply line.
After shutting off water, turn the faucet handles to drain any remaining water from the lines. This prevents water from spilling out when you disassemble faucet components.
Protecting Your Work Area
Place a towel in the sink drain to catch any small parts that might fall. Cover the drain opening completely, as replacement parts like screws and washers can easily slip through.
Consider taking photos of the faucet before disassembly. These reference images can help you remember how components fit together during reassembly.
Fixing Compression Faucets
Compression faucets are the most common type requiring repair in older homes. The repair process involves replacing worn washers and checking valve seat condition.
Removing the Faucet Handle
Start by looking for a decorative cap on top of the faucet handle. Pry this cap off carefully with a flathead screwdriver to reveal the handle screw underneath.
Remove the handle screw and pull the handle straight up. Some handles may require gentle wiggling to break free from mineral deposits or corrosion.
Accessing Internal Components
With the handle removed, you’ll see the packing nut. Use your crescent wrench to turn the packing nut counterclockwise. The valve stem should come out with the packing nut.
Examine the valve stem carefully. At the bottom, you’ll find the seat washer held in place by a screw. This washer sits against the valve seat when the faucet is turned off.
Replacing the Seat Washer
Remove the screw holding the old seat washer and lift the washer out. Compare the old washer to new seat washers to find the correct size and shape.
Install the new washer and tighten the screw. Avoid over-tightening, as this can damage the new washer or crack the valve stem.
Checking O-Rings
Look for O-rings around the valve stem. These rubber rings prevent water from leaking around the handle. Replace any O-rings that appear cracked, brittle, or stretched.
When installing new O-rings, apply a thin coat of plumber’s grease to help them seal properly and extend their lifespan.
Inspecting Valve Seats
Corroded valve seats can prevent even new washers from sealing properly. Run your finger around the valve seat inside the faucet body. It should feel smooth.
If the valve seat feels rough or pitted, you may need a special tool called a seat dresser to smooth the surface. Severely damaged valve seats may require professional replacement.
Repairing Faucet Cartridge
Modern faucets often use replaceable cartridges to control water flow. When these cartridges wear out, replacing the entire cartridge is usually more effective than trying to repair individual components.
Removing the Cartridge
After removing the faucet handle and any decorative components, you’ll need to extract the old cartridge. Some cartridges simply pull straight out, while others require a special tool for removal.
Look for a retaining clip or nut holding the cartridge in place. Remove these components carefully, as they’re often made of soft metal that can bend or break.
Installing the New Cartridge
Before installing the new cartridge, clean the cartridge chamber thoroughly. Remove any mineral deposits or debris that might interfere with proper cartridge function.
Insert the new cartridge in the same orientation as the old one. Pay attention to any alignment tabs or markings that ensure correct installation.
Replace the retaining clip or nut and reassemble the handle components. Test the faucet operation before fully tightening all connections.
Addressing Ball Faucets
Ball faucets contain multiple small parts that can wear out independently. A complete ball faucet repair kit often provides better long-term results than replacing individual components.
Disassembly Process
Remove the handle and unscrew the cap and collar assembly. Lift out the cam, cam washer, and rotating ball.
Underneath the ball, you’ll find inlet seals and springs. These small components often cause leaks when they wear out or become clogged with mineral deposits.
Replacing Components
Install new springs and inlet seals from your repair kit. The springs should sit firmly in their seats with the seals on top.
Replace the ball if it shows signs of corrosion or wear. Install the new cam washer and cam, ensuring proper alignment with the slot in the faucet body.

When to Call G.A. Eberly Plumbing & Heating for Professional Services
While many faucet repairs are DIY-friendly, some situations require professional expertise. Recognize these scenarios to avoid creating more expensive problems.
Complex Plumbing Issues
If your repair attempts don’t stop the leak, there may be underlying plumbing problems beyond the faucet itself. Issues with water pressure, pipe damage, or valve seat problems sometimes require professional diagnosis.
Specialized Tools Required
Some repairs need tools that aren’t practical for homeowners to purchase. Seat dressing tools, cartridge pullers for stuck cartridges, or other specialized equipment may be necessary.
Multiple Fixture Problems
When several faucets develop problems simultaneously, the issue might be with your home’s plumbing system rather than individual fixtures. Professional plumbers can diagnose system-wide problems more effectively.
Preventing Future Leaks
Regular maintenance can extend your faucet’s lifespan and prevent emergency repairs. Simple preventive measures save both money and inconvenience over time.
Regular Maintenance Tips
Clean your faucets regularly to prevent mineral buildup. Use a mild cleaner and a soft cloth to avoid scratching fixture surfaces.
Don’t over-tighten faucet handles. Excessive force can damage internal components and actually cause leaks to develop more quickly.
Address small leaks promptly. Minor drips often indicate developing problems that are easier and less expensive to fix early.
Water Quality Considerations
Hard water accelerates wear on faucet components. Consider installing a water softener if mineral buildup is a persistent problem in your home.
Replace washers and O-rings periodically, even if they’re not yet leaking. This preventive approach can help you avoid emergency repairs.
Popular Faucets to Consider
When it’s time to replace a faucet, choosing a high-quality product from a trusted brand can ensure long-lasting performance and style. Below are just a few faucets and their manufacturers, featuring reliable options for any kitchen or bathroom.
Delta Faucet Leland Single-Handle Touch Kitchen Faucet
Known for its innovative Touch2O technology, this faucet offers touch activation for convenience. Ideal for busy kitchens.
Moen Adler Single-Handle Faucet
A classic, budget-friendly option with high durability and a sleek chrome finish. Great for those seeking simplicity and reliability.
Kohler Artifacts Single-Handle Faucet
Perfectly blending vintage style with modern functionality, this faucet adds character to any space.
Hansgrohe Focus N Single-Hole Faucet
This German-engineered faucet boasts sleek design and water-saving features without compromising performance.
American Standard Colony Soft Single-Control Faucet
Affordable and efficient, this faucet provides a smooth operation and a clean, straightforward design.
View on American Standard Website
Pfister Jaida Single-Control Bathroom Faucet
With its unique waterfall-like water flow and modern design, this faucet is both stylish and functional.
Grohe Eurocube Single-Handle Faucet
A modern, cube-inspired design with precise water control, making it a perfect fit for contemporary spaces.
Each of these selections demonstrates exceptional craftsmanship and customer satisfaction, ensuring you find the right fit for your needs. Whether you prioritize functionality, efficiency, or design, these brands and models deliver outstanding results.
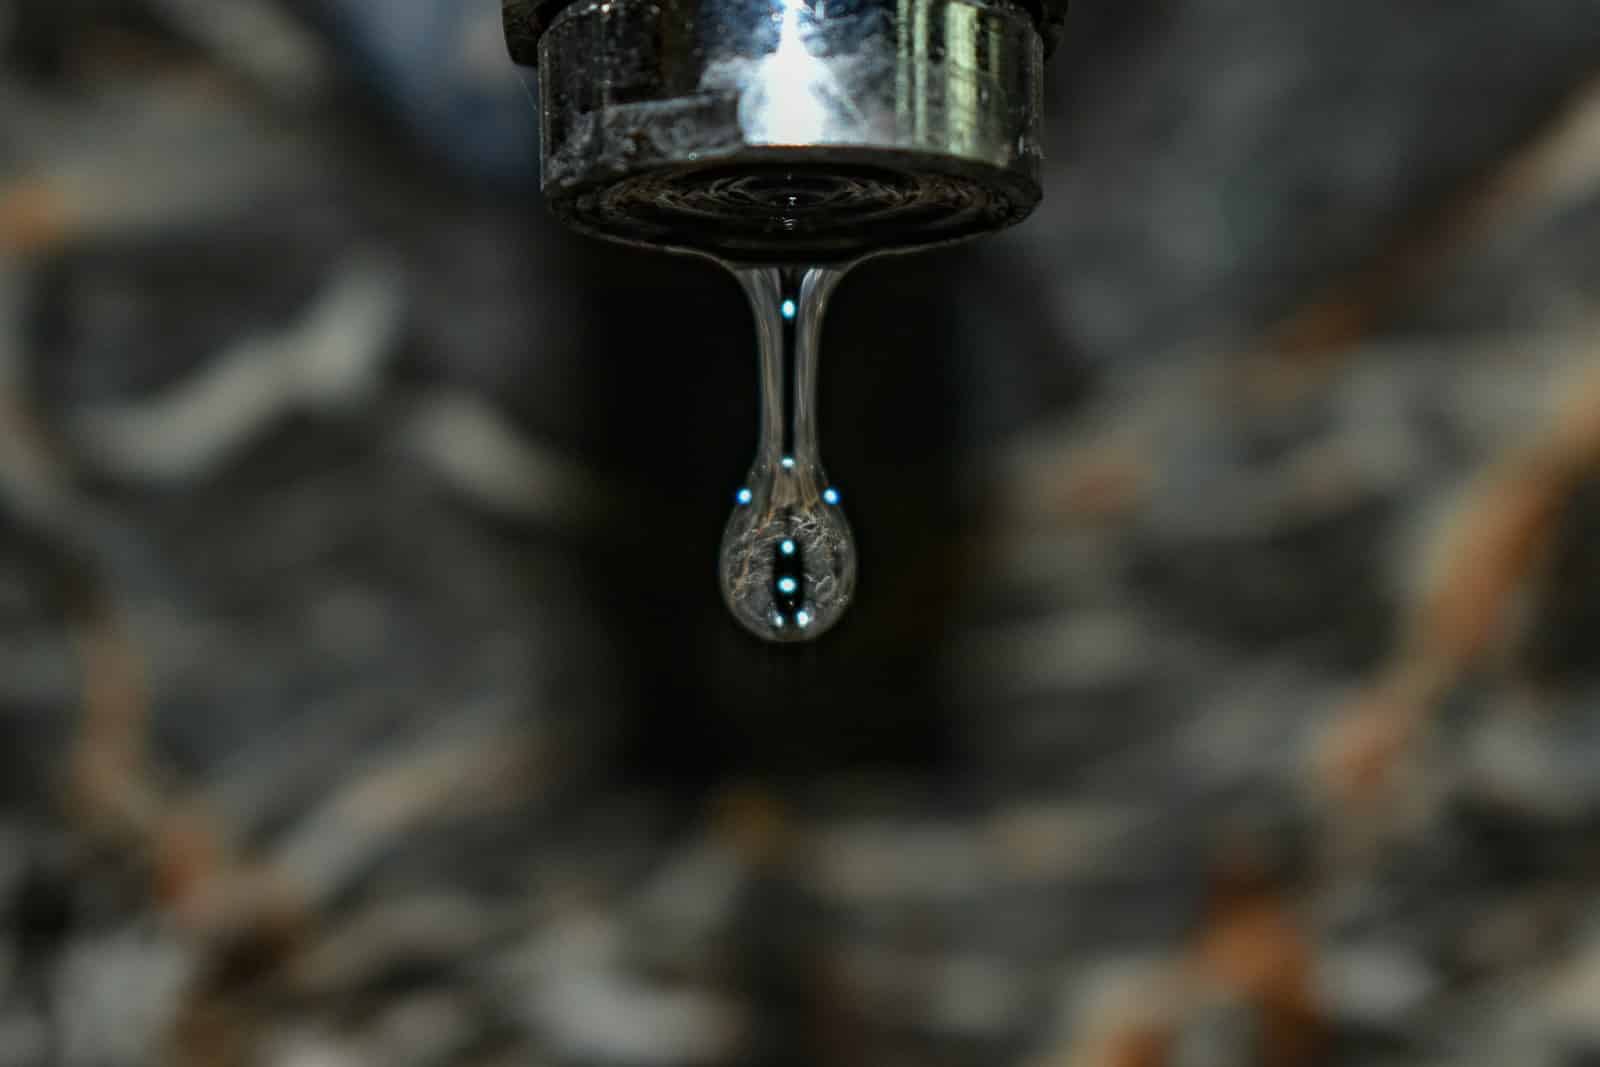
Photo by Mukesh Sharma on Unsplash
Making the Right Repair Choice
Successfully fixing a dripping faucet isn’t just about stopping the annoying sound—it’s about taking control of your home maintenance and utility costs. With the right approach and basic tools, most faucet leaks can be resolved in an afternoon.
Remember that each faucet type requires a specific repair approach. Take time to identify your faucet style before purchasing replacement parts. When in doubt, bring the old components to your hardware store for proper matching.
For complex repairs or persistent problems, don’t hesitate to contact experienced professionals. G.A. Eberly Plumbing & Heating has been serving the DMV area since 1909, offering reliable expertise when DIY repairs aren’t sufficient. Sometimes the most cost-effective choice is getting the repair done right the first time.